Mortal Shell 2 Shells
Eight lost warriors, each with their own flesh, memories, location, and way of fighting.
The Complete Shell Roster
Mortal Shell II is built around eight playable Shells. Each warrior changes your health, resilience, movement, and active ability, while your broader knowledge of weapons and enemy posture carries between bodies.
| Shell | Image | Title | Status | Location |
|---|---|---|---|---|
| Proxima | 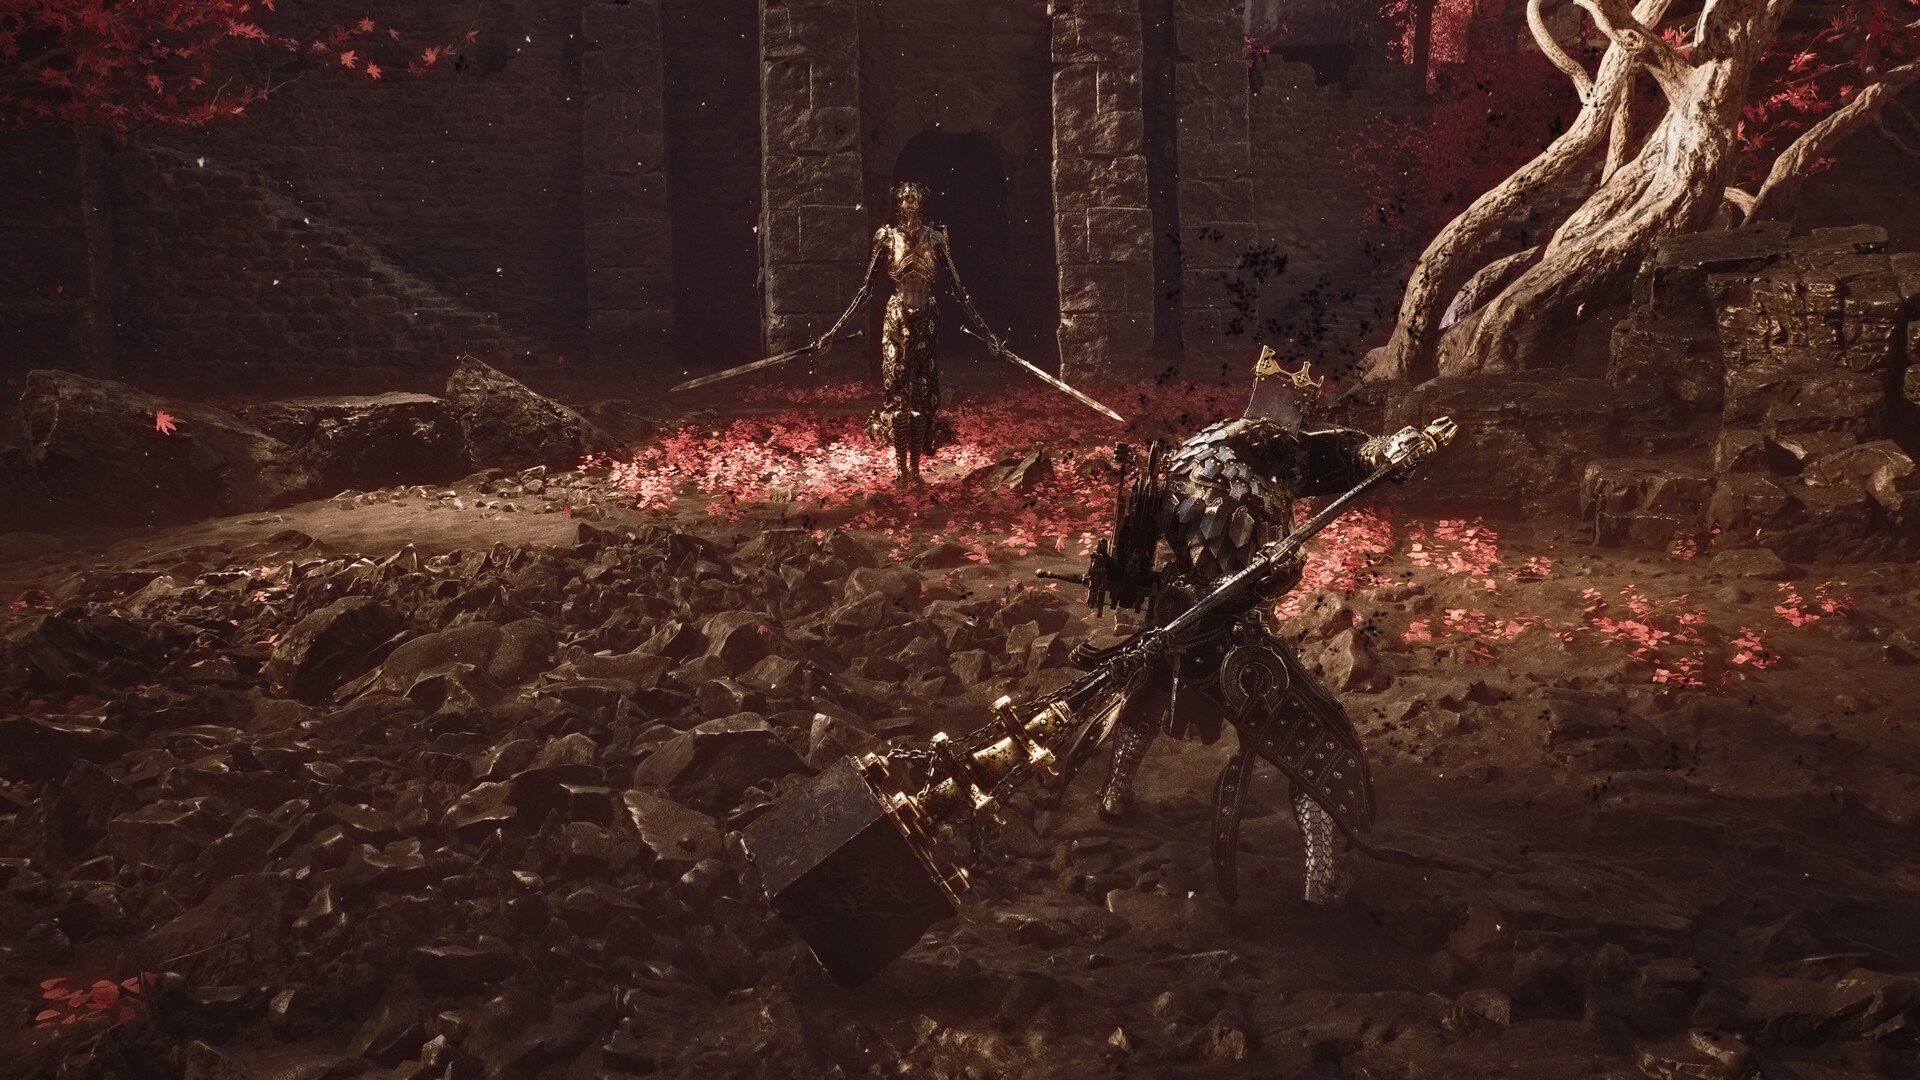 | The Broodseeker | Official | Shattered Beacon |
| Tiel | 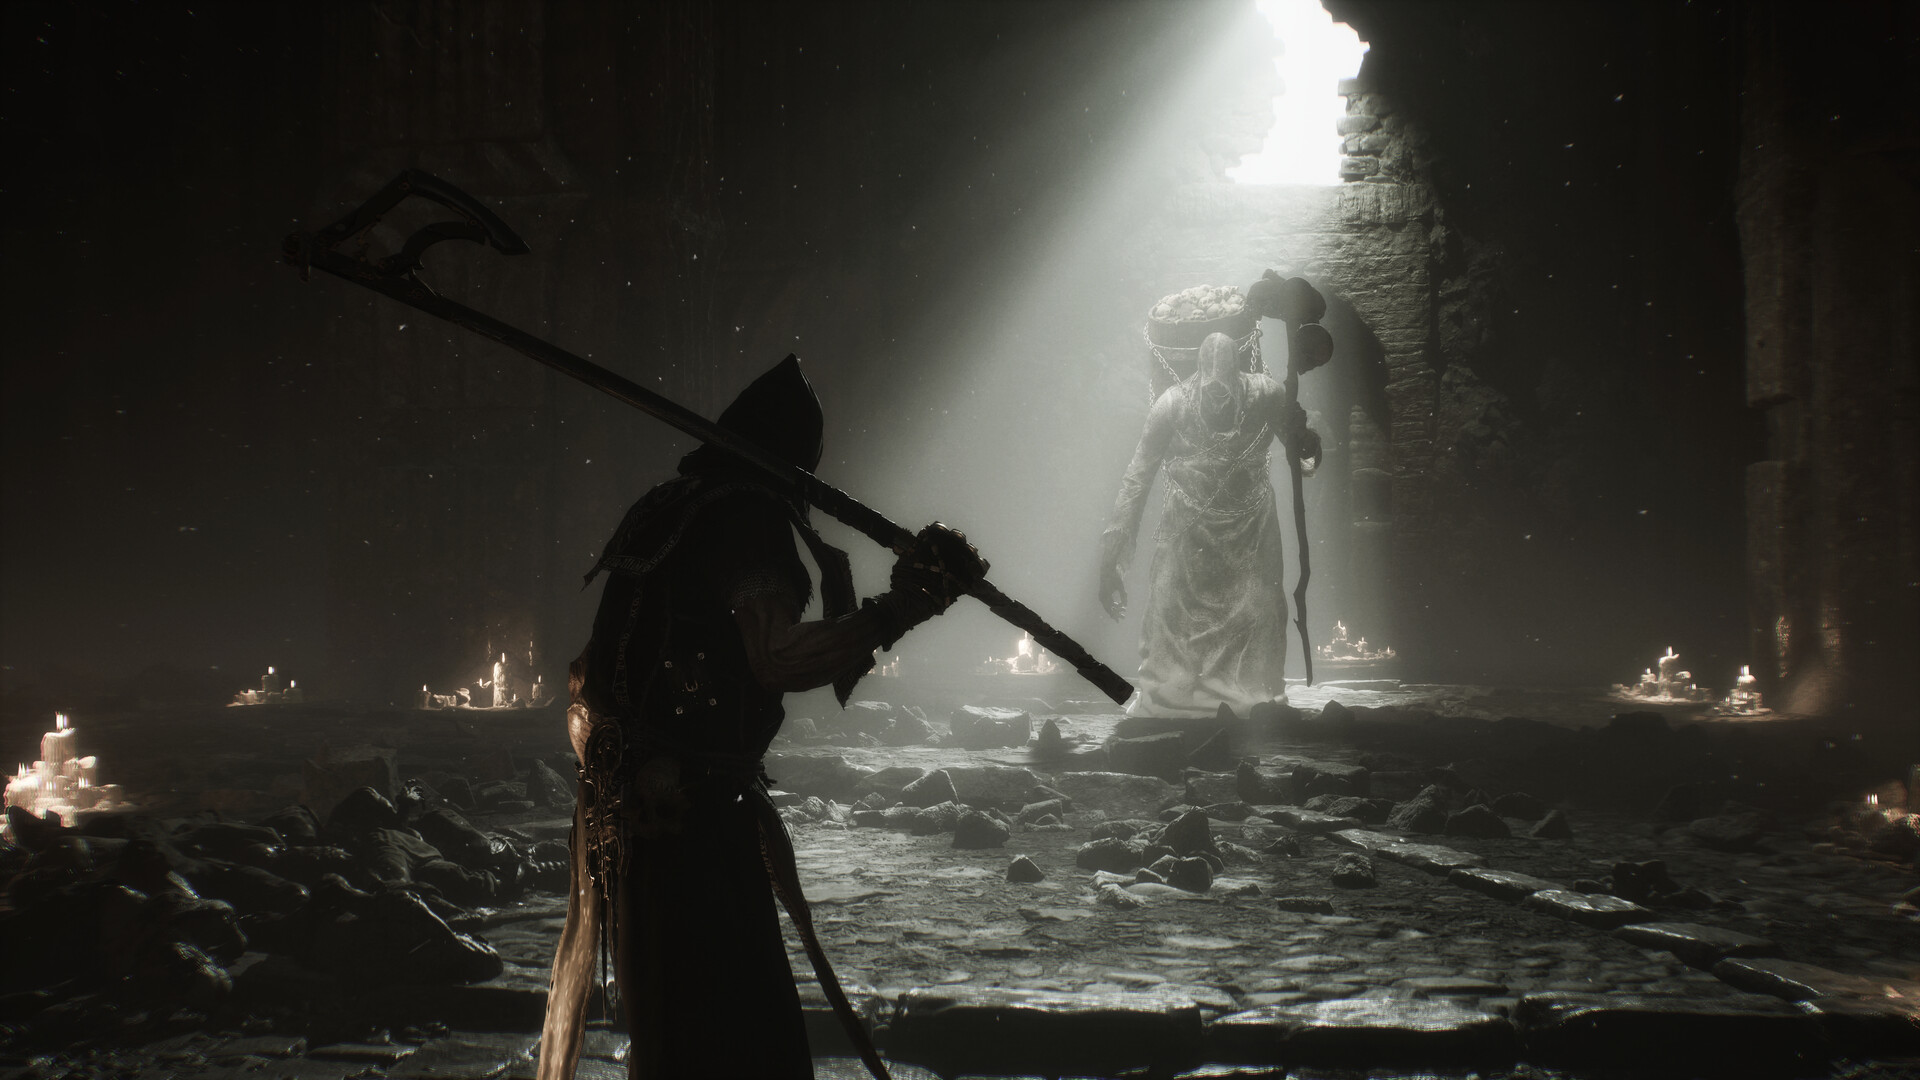 | The Acolyte | Official | Mushroom Village |
| Eredrim | | The Venerable | Official | Citadel of Penance |
| Gragu | 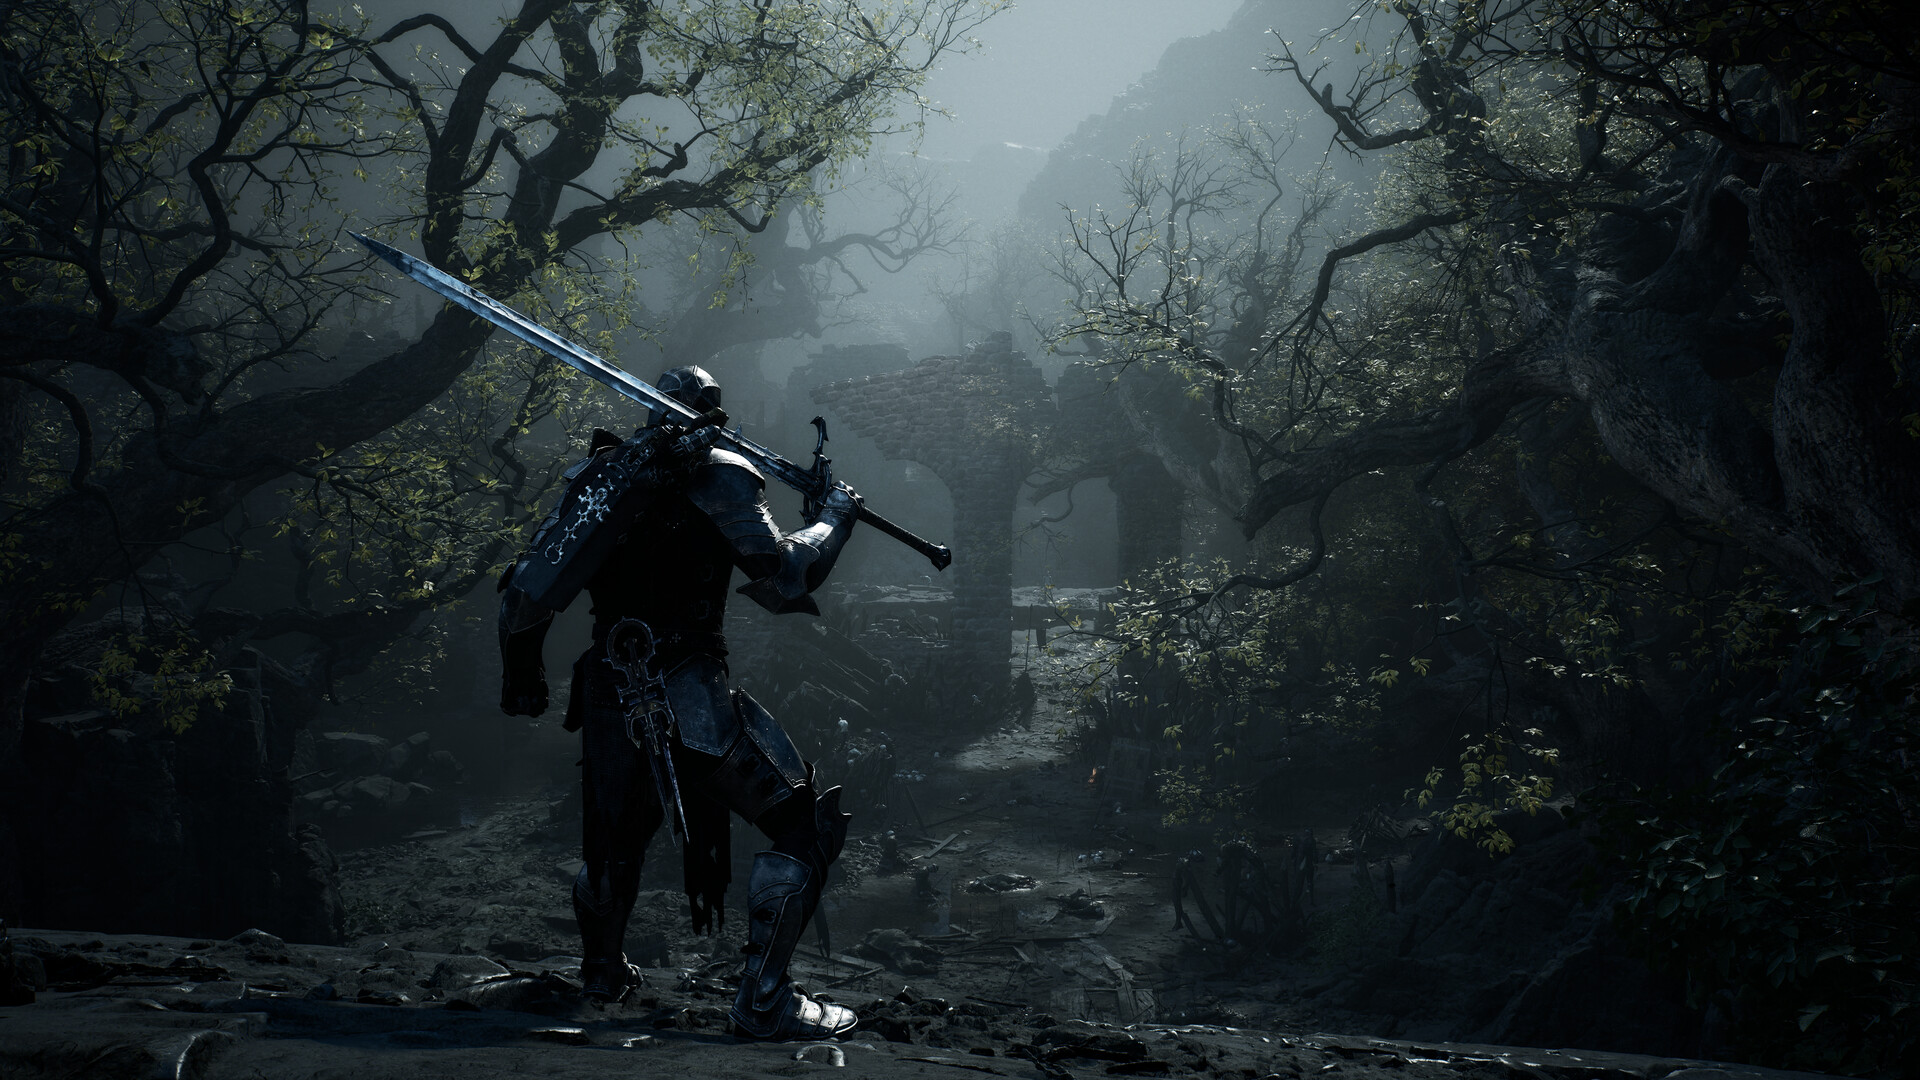 | The Insatiable | Confirmed | One-Legged Wolf Tavern |
| Smert | | The Apostate | Confirmed | Prophet's Rest |
| Genessa | | The Wayward | Confirmed | Marrow Keep |
| Lazlo | 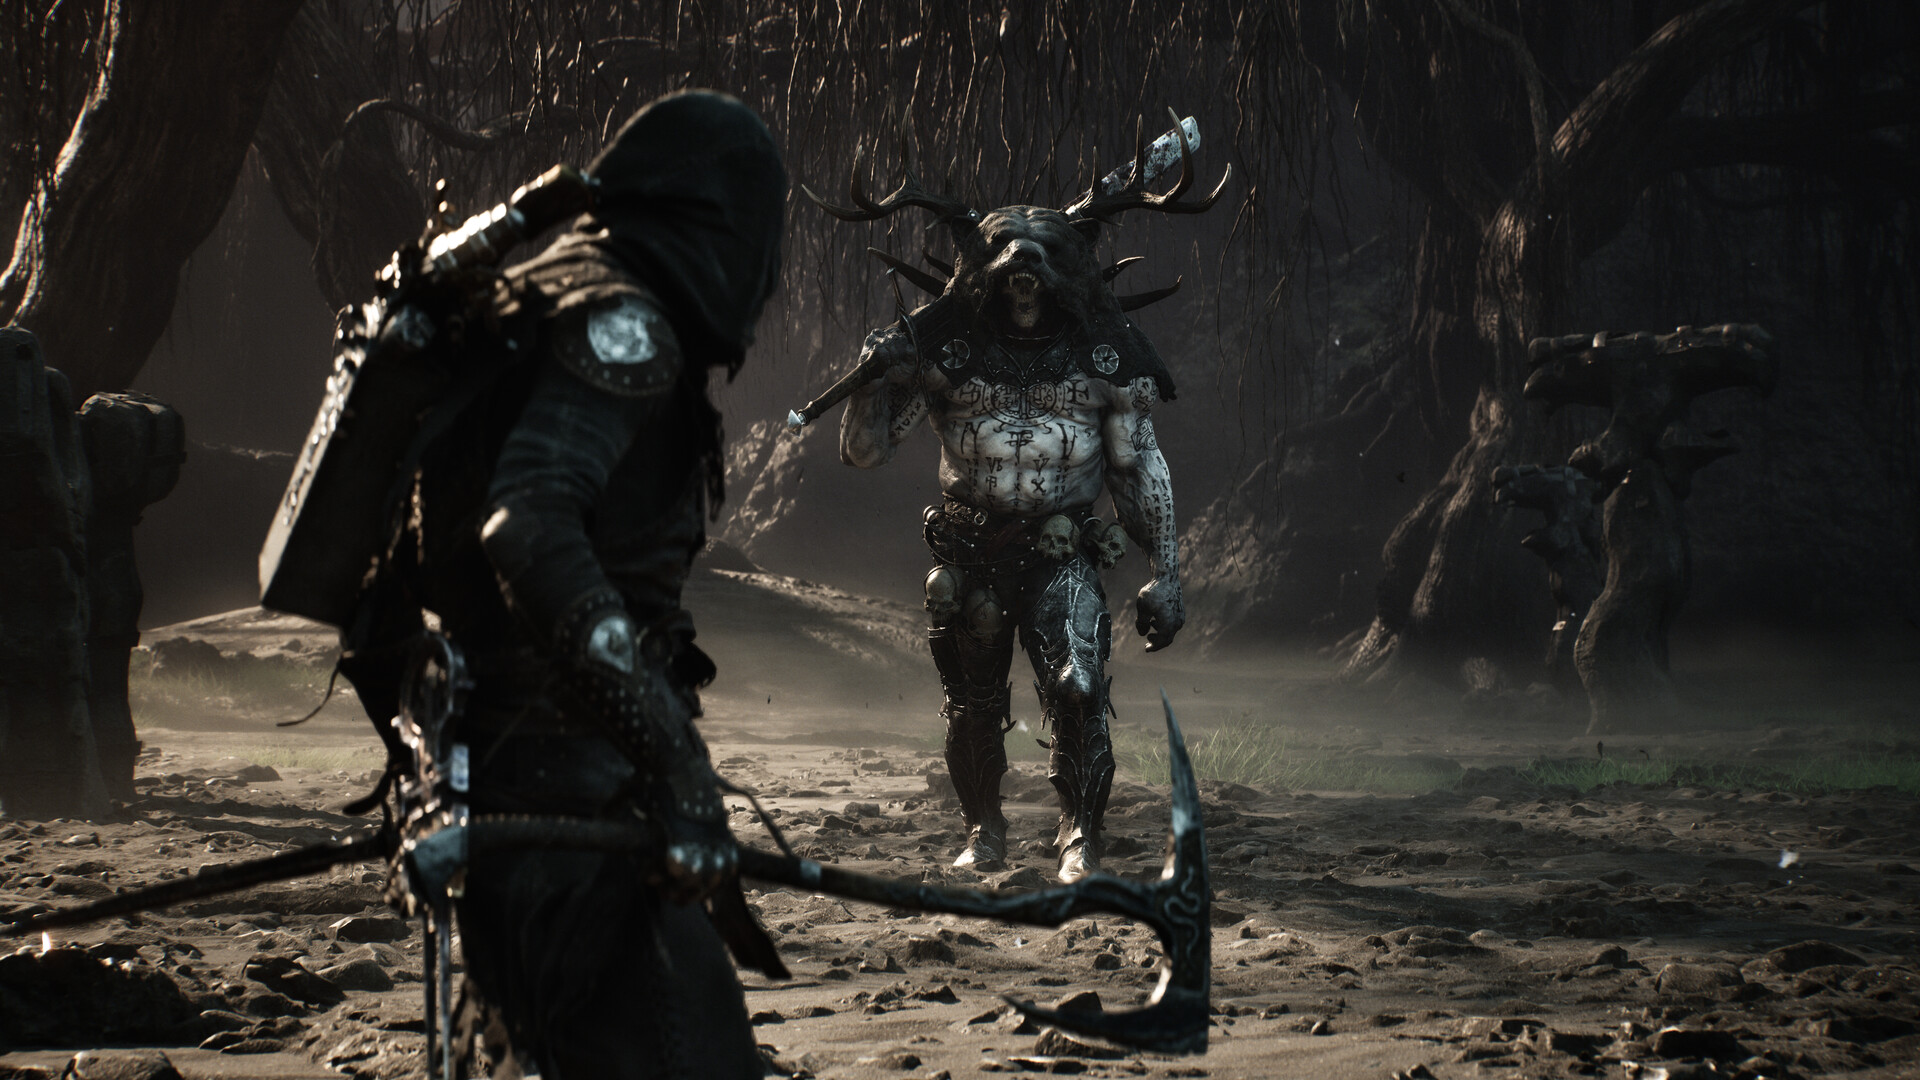 | The Justiciar | Confirmed | Royal Crypt of Mammon |
| Sariel | 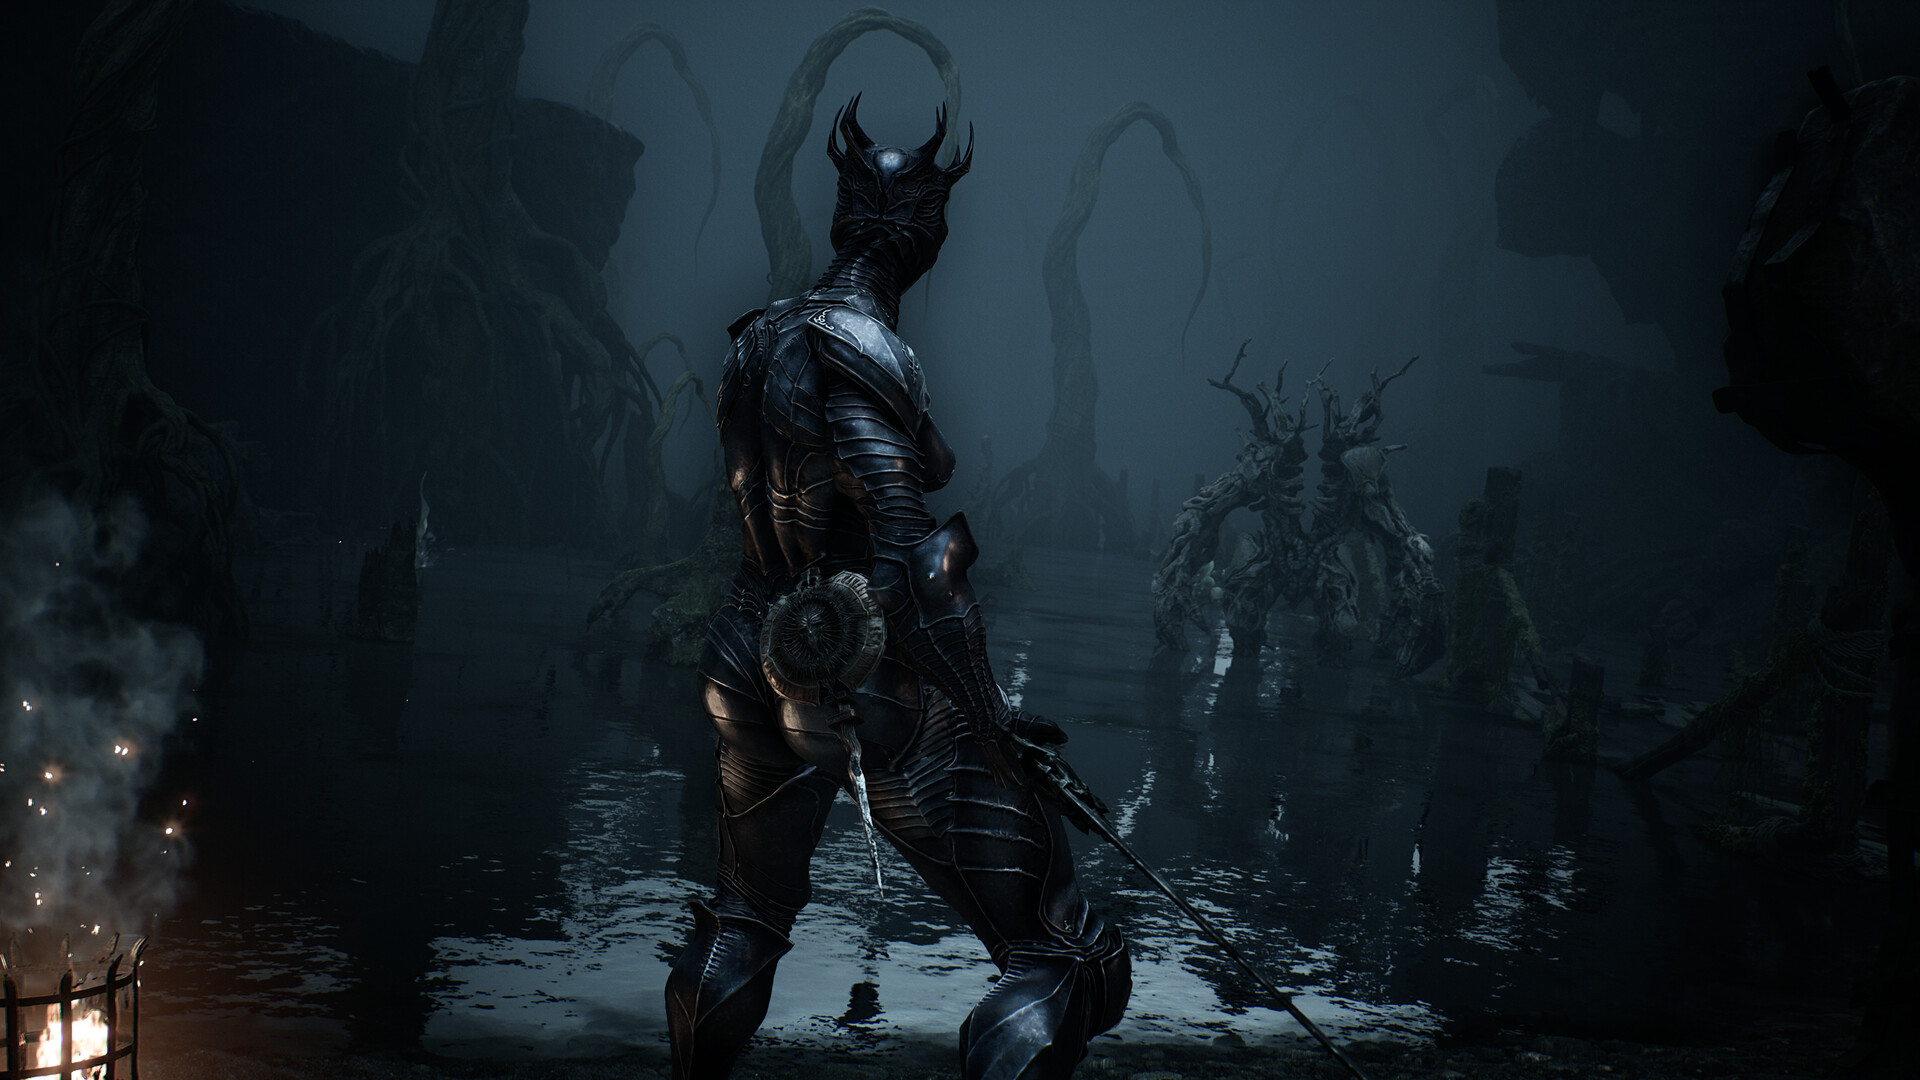 | The Endless | Confirmed | Chamber of Becoming |
Seven Shells have fixed world locations. The remaining unlock is tied to a quest step rather than a persistent map marker, so completing the roster requires both exploration and story progress.
Officially Confirmed Shells
Cold Symmetry's official gameplay material established Proxima, Tiel, and the returning Eredrim early. The release version completes the roster with Gragu, Smert, Genessa, Lazlo, and Sariel.
- Proxima, the Broodseeker balances distance control with a chance-based defensive ability.
- Tiel, the Acolyte favors speed, evasive movement, and aggressive repositioning.
- Eredrim, the Venerable returns as a durable warrior suited to deliberate weapons.
Route-Verified Shells
The remaining Shells sit deeper in quests, ritual spaces, and boss routes. Their unlock conditions connect the roster to the world instead of treating possession as a simple menu choice.
- Gragu follows the Heart of Vatra quest toward the One-Legged Wolf Tavern.
- Smert waits near a blood-circle ritual west of Nochte.
- Genessa requires progress through Revenant Graves and Marrow Keep.
- Lazlo follows the Royal Crypt of Mammon route.
- Sariel is claimed after the Chamber of Becoming encounter.
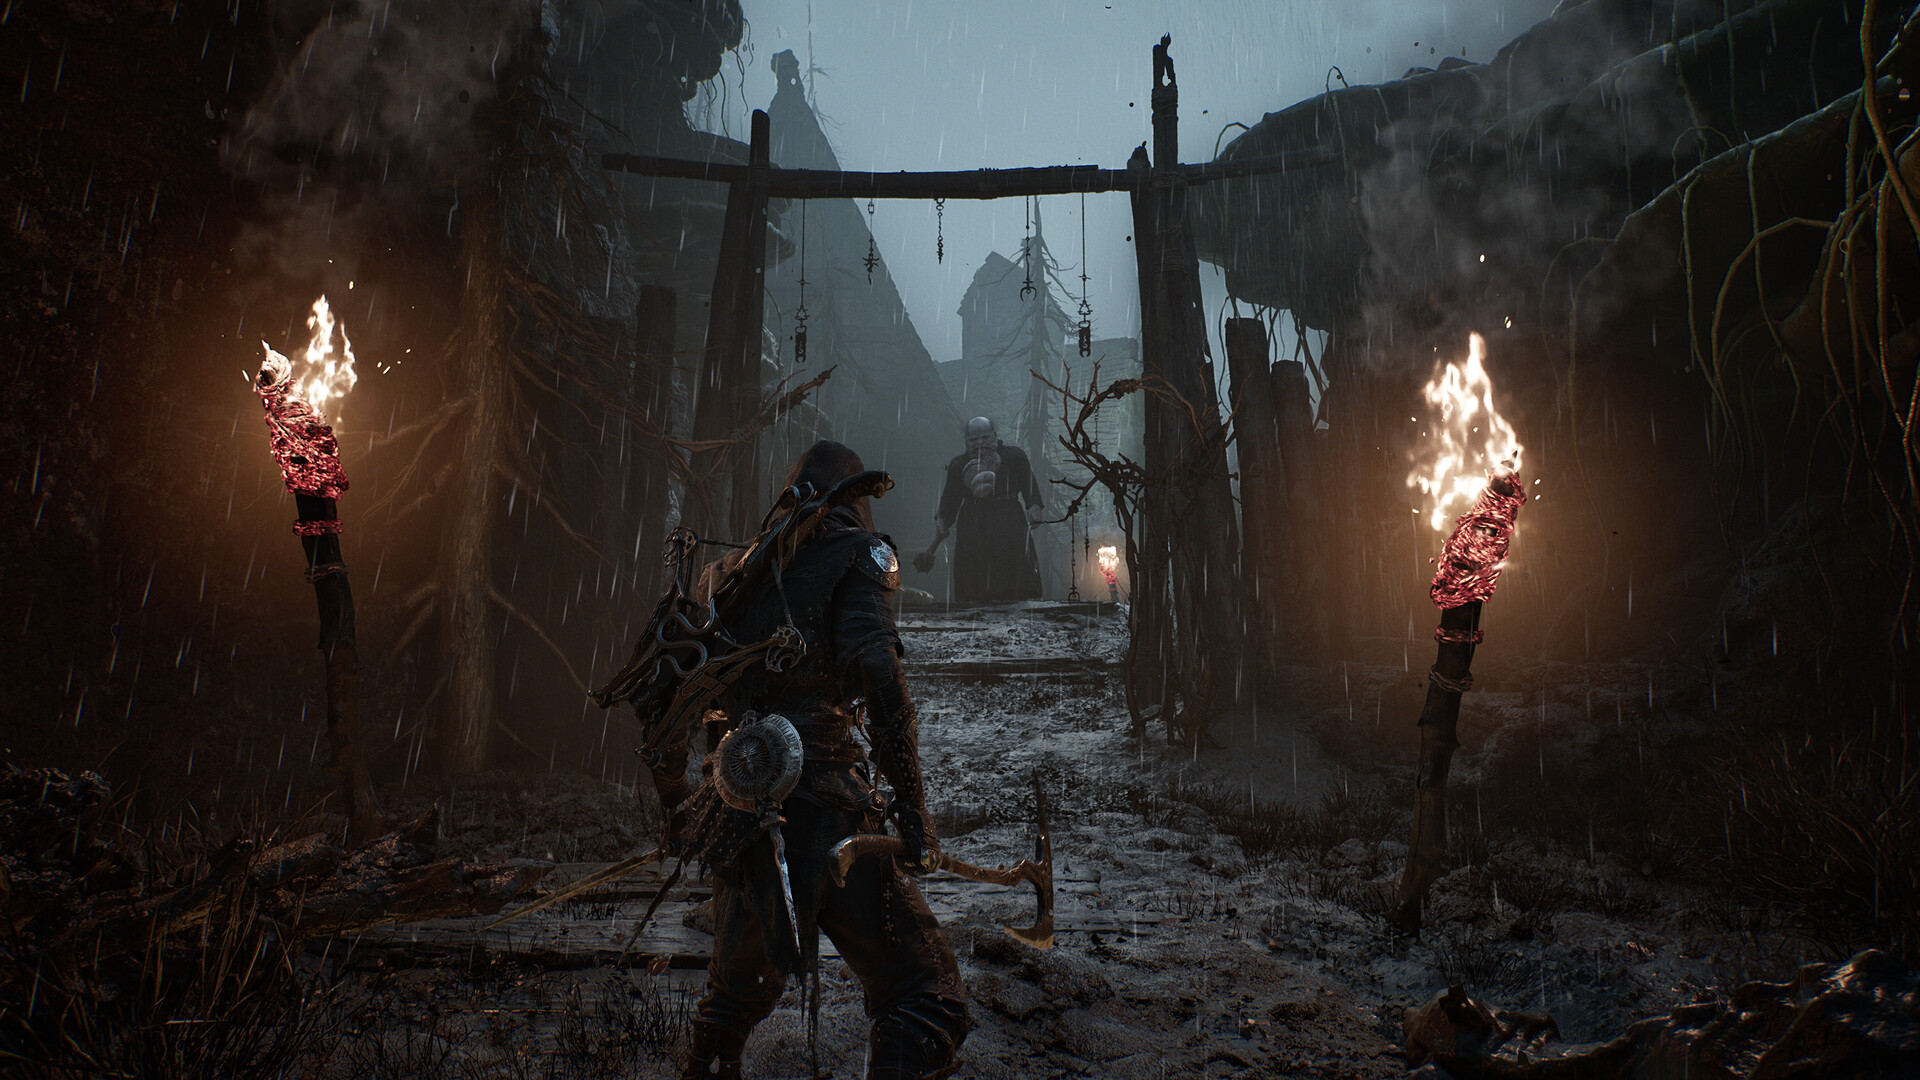
The Prologue Shell: Harros the Vassal
Harros carries the opening sequence before the wider roster becomes available. He remains a dependable baseline, but finding another Shell quickly teaches the central rhythm of the sequel: possess, compare, adapt, and bind yourself to the body that best fits the next region.
How Shells Work
Shells define your immediate combat identity. Weapons and upgrade choices matter, but the body you possess determines how safely you can pressure enemies and recover from mistakes.
- Spend Glimpses deliberately. Early resources are limited, so deepen one reliable Shell before spreading points across the roster.
- Match Shell to weapon. A mobile Shell and a heavy weapon ask different questions than a durable Shell with a fast paired weapon.
- Learn the active ability. Each ability changes spacing, defense, posture, or damage in a way that should shape your route and loadout.
Shell FAQ
Can I switch Shells after finding them? Yes. Once a Shell is claimed and bound, checkpoints let you return to collected bodies.
Which Shell should I invest in first? Proxima is a versatile early option, while Tiel rewards confident movement. The correct choice depends on the weapon you intend to upgrade.